1. Accessing application processing
You can access this feature in two ways:
- From the dashboard:
- Click on “Applications”.
- Select an application.
- The “Pre-qualification” and “Reject” buttons appear immediately.
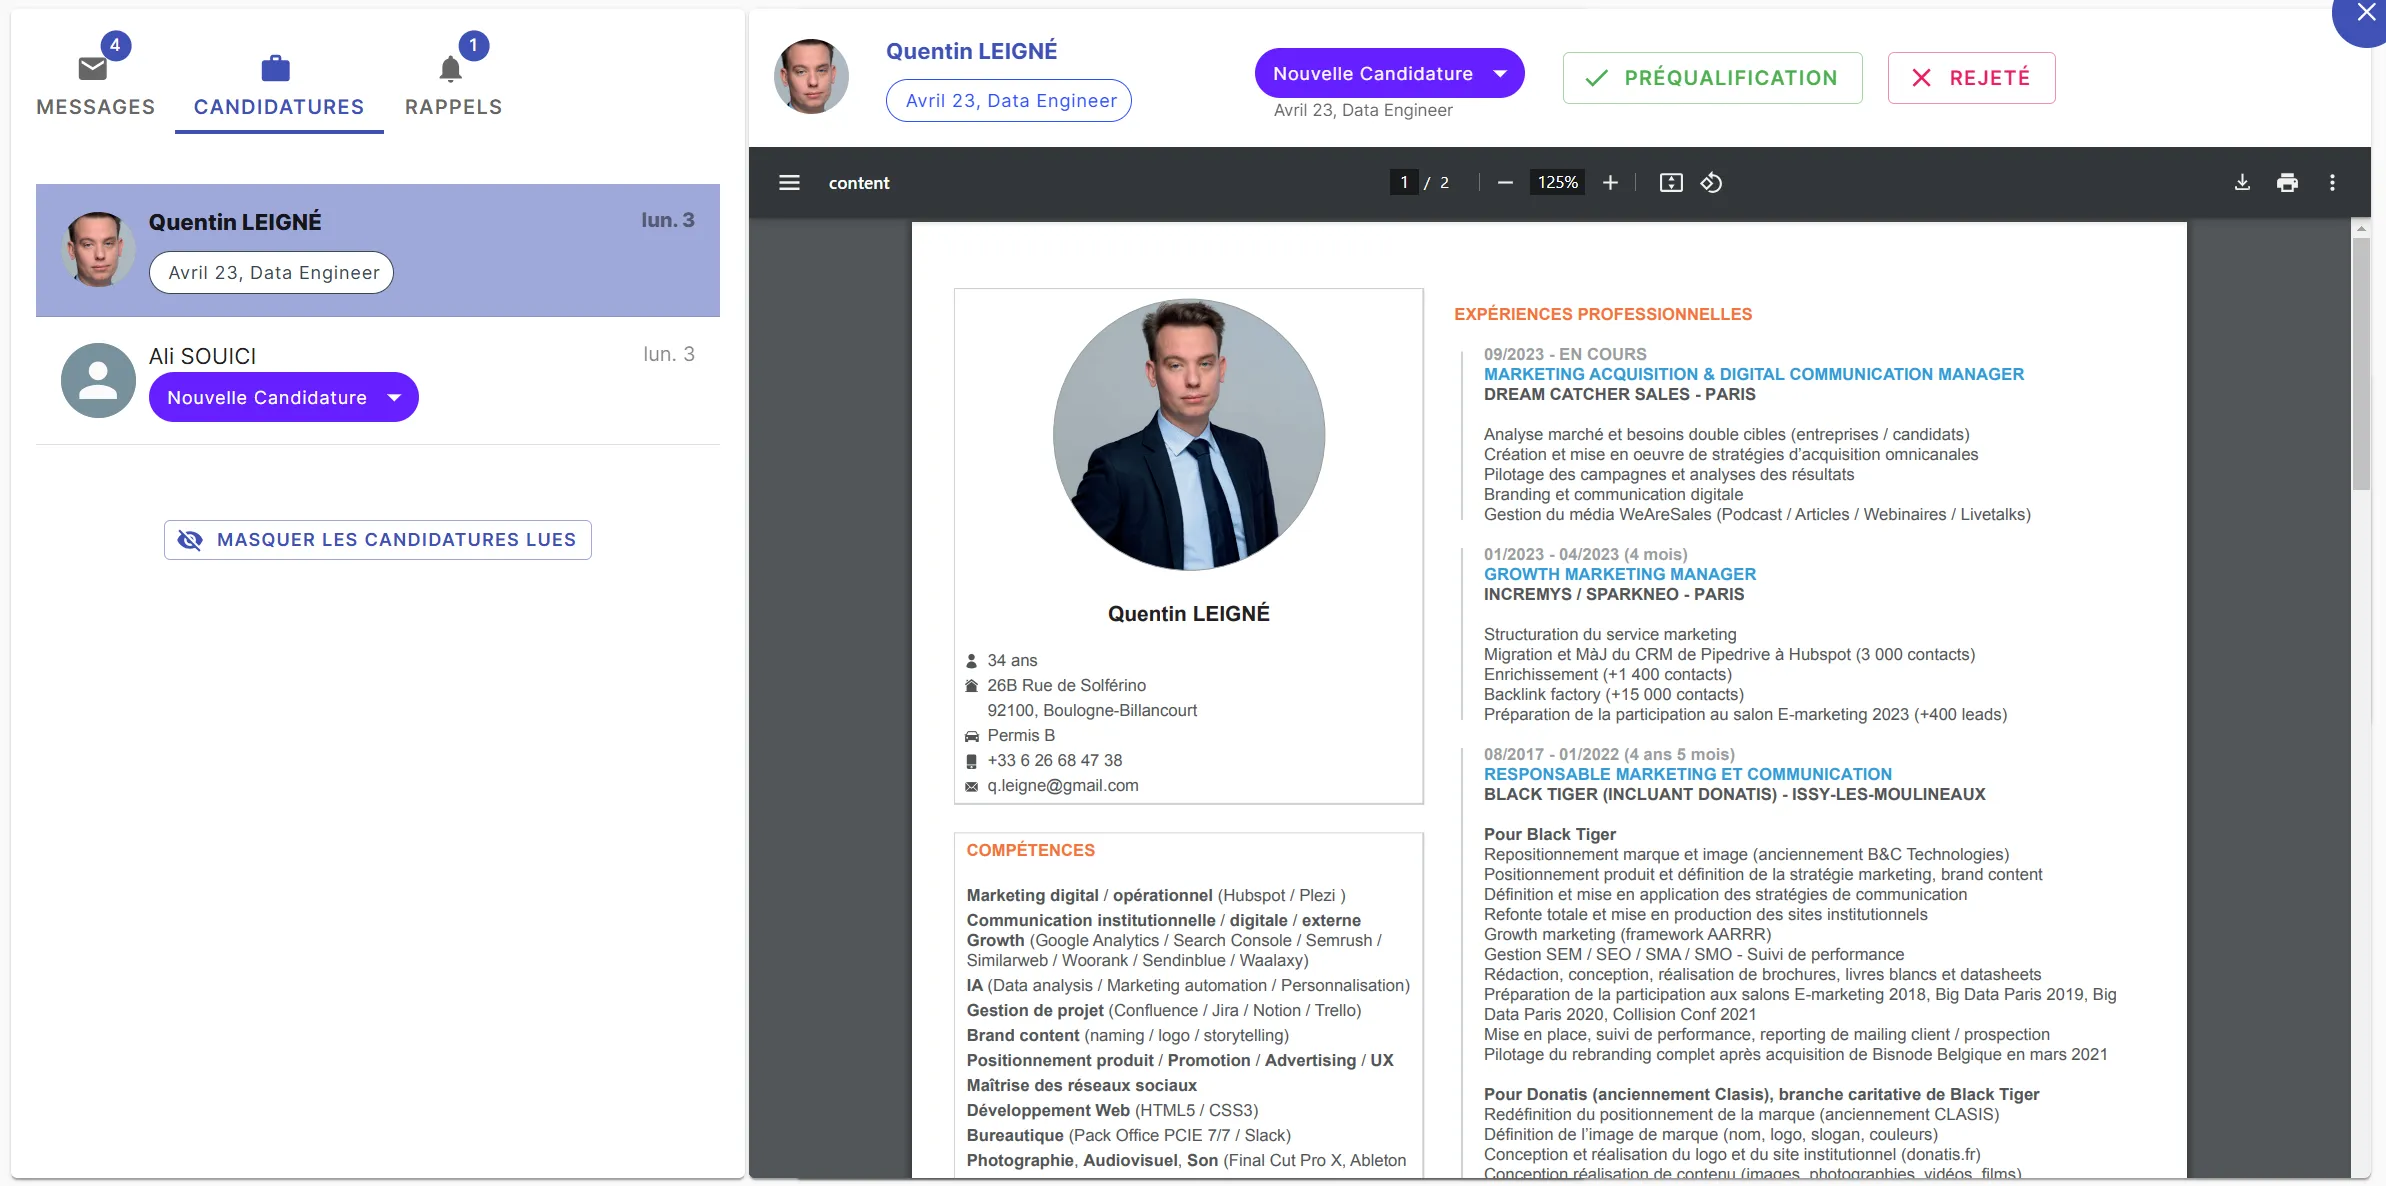
- From the candidate profile:
- Open a profile from the applications list.
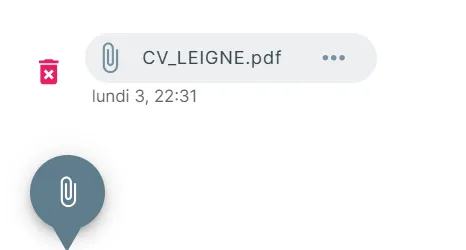
- Click on their resume or the notes icon.
- A detailed view displays with the resume on the left and notes on the right.
- You can move from one profile to another using the arrows and use the quick processing buttons.

2. How one-click processing works
When you select “Prequalification” or “Reject”:
- The candidate’s status is updated immediately.
- You automatically move to the next profile.
- If triggers are configured, a rejection email can be sent after a defined delay.
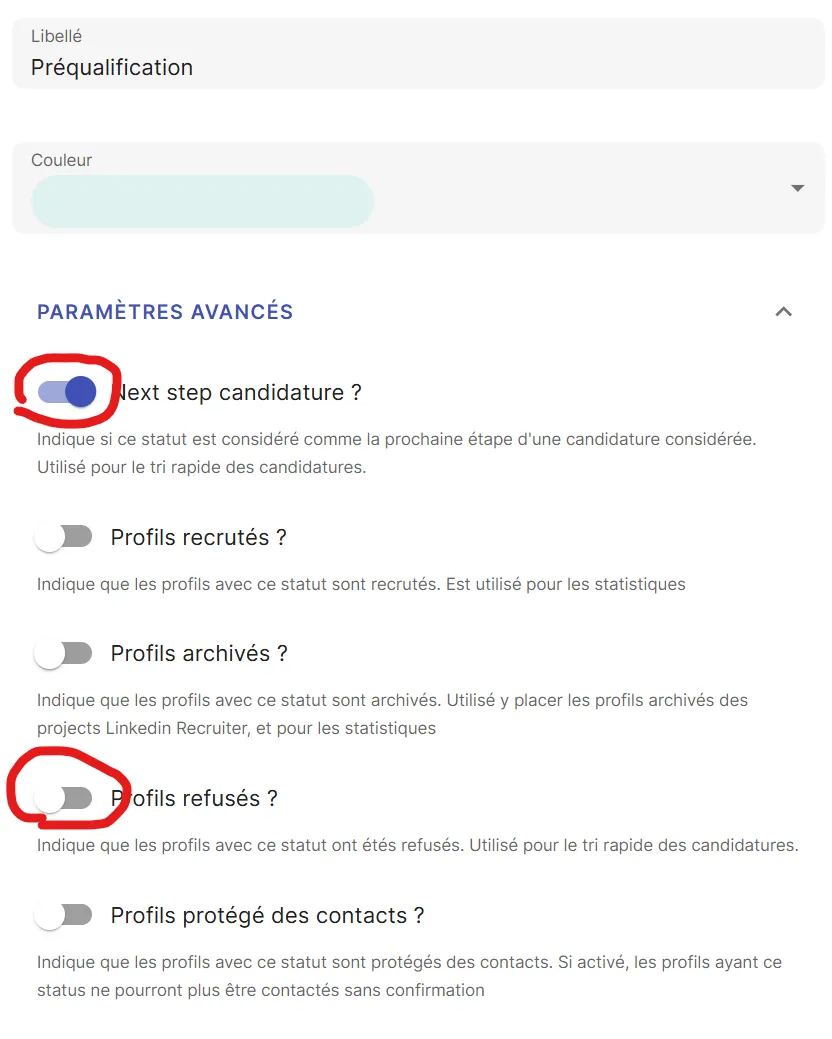
3. Customizing action buttons
You can adapt the buttons to your recruitment process:
- Go to “Preferences” > “Statuses” > “Talents (ATS)”
- Select the status corresponding to a rejection or pre-qualification
- Check the “Next step candidature” button if it corresponds to an application status you’re validating, or “Rejected profiles” if it corresponds to a rejected application
- Select the button to modify (e.g., “Prequalification” or “Reject”).
4. Automate with triggers
By combining quick processing with triggers, you can:
- Send an automatic email to rejected candidates.
- Add a reminder to contact a candidate at a later date.
- …
To learn more, you can check out our article:
Automate your actions with triggers on Jarvi
Thanks to Jarvi’s customizable buttons and triggers, processing applications becomes smoother and more efficient. If you have specific needs, don’t hesitate to contact us to explore the available options!