Accessing input field customization
- Go to the Jarvi menu (blue column on the left side of the screen).
- Click on “Preferences” then on “Input fields” to access the field customization section.

Customizing fields for talents, companies and projects
- Select the section you want to customize:
- Talent profile or project card (for the ATS)
- Client/prospect profile or company card (for the CRM)

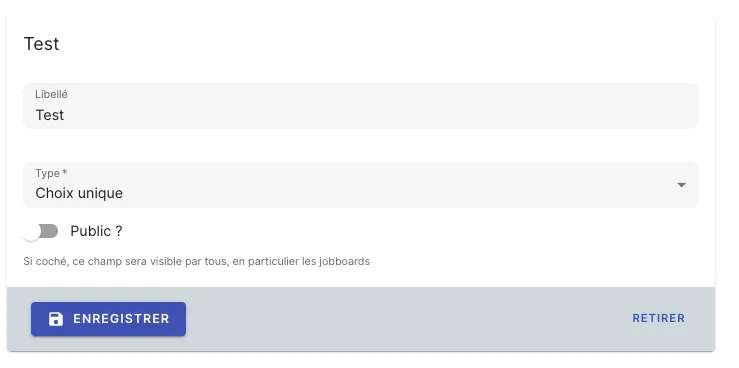
Adding a custom field
- Click on ”+ Add a field” and give a name to the field you want to create.
- Choose the type of field you want to add:
- Free text: for multiline content (e.g.: interview summary).
- Multiple choice: for pre-defined options.
- Date: to select a date.
- Location: to add a location.
- Tags: for adding multiple tags.
For example, you can add an “Interview summary” field with free text, or a “Profile rating” field with a star rating system.
- You can also add default content if needed.
Organize your custom fields
- Once your fields are created, you can organize them wherever you want in your profiles, whether for talents or companies.
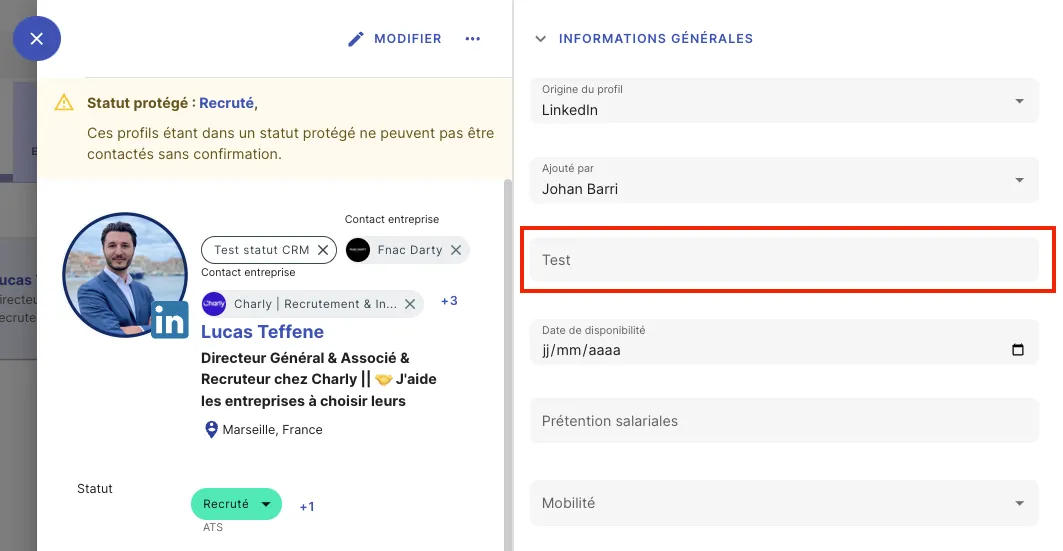
- For example, you can move a field like “Profile rating” or “Interview summary” to the section that works best for you.

That’s it! You’ve customized your input fields with ease.